
Master Plumbers Blog
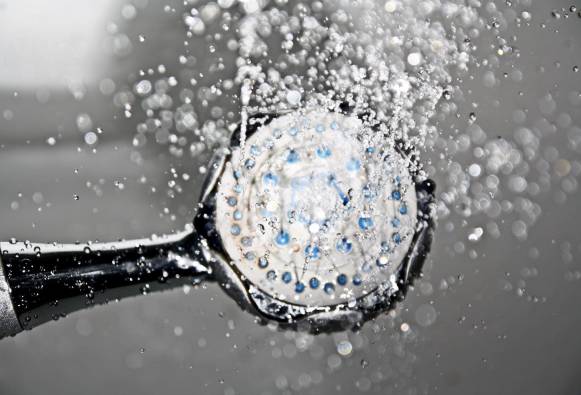
How to Repair a Leaking Shower
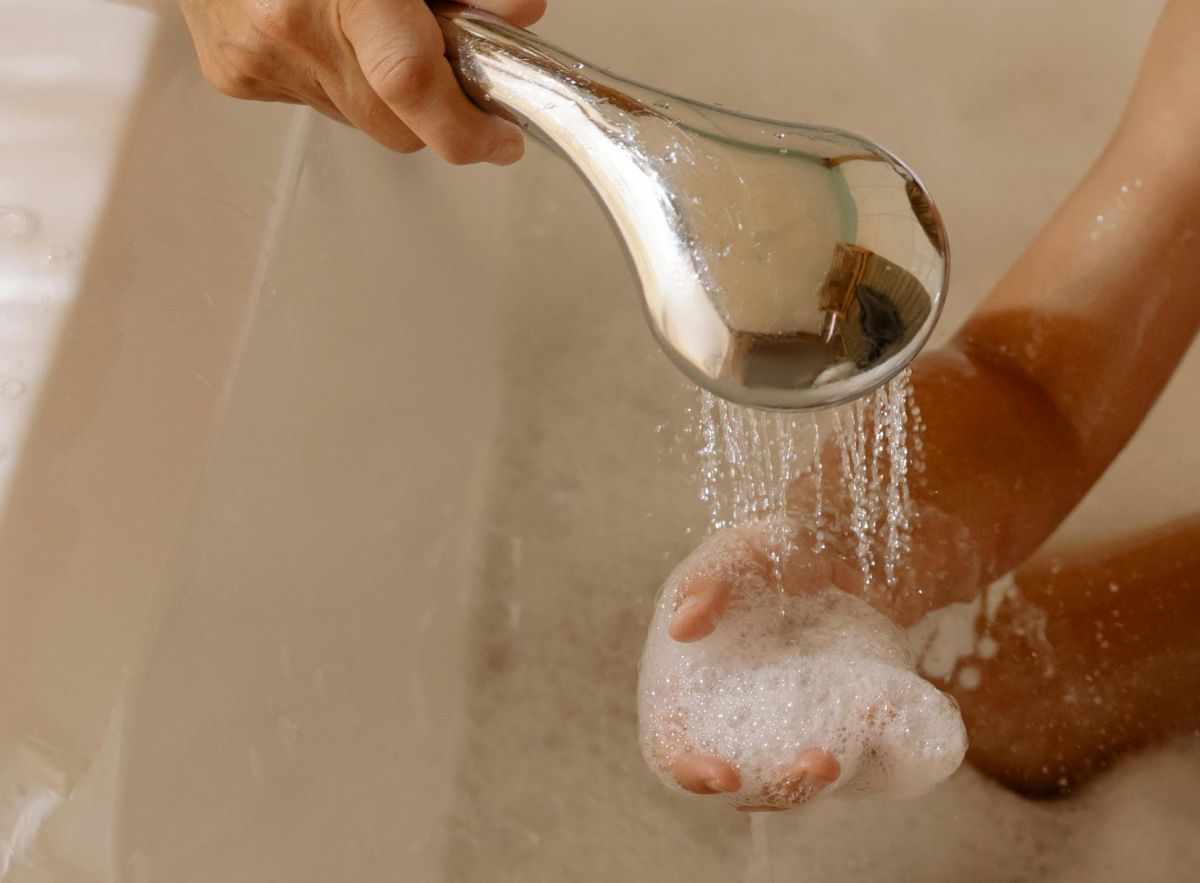
Are you frustrated with the dripping sound of your leaky shower?
We perfectly understand your trouble. A leaking shower is a great nuisance, and the dripping of water can keep you awake all night. Additionally, it leads to an unpredictable increase in your utility bills.
The basic thing is to know what is causing the leak. We have compiled easy tips to help you handle a leaking shower repair, whether it is a faulty shower head or a valve.
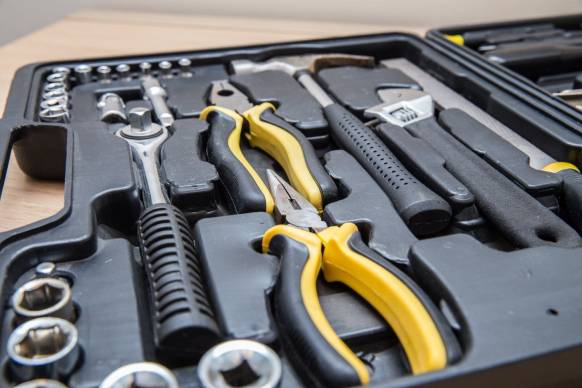
1. Gather appropriate tools and materials
The first thing you need to do is have suitable materials and tools. It would be best if you did not force any equipment when removing or putting back the shower head. Remember not to extremely tighten the shower as it can result in damage immensely. Here are some of the tools and materials needed.
- Hex Key assists to detach some of the faucet handles.
- Wrench- however, other shower faucets use unique tools like a cartridge puller.
- A needle nose pliers
- Philips-Head screwdriver
- Slotted Screwdriver
- A rag or an old towel
- A faucet repair kit
- Silicon sealant
- A cartridge
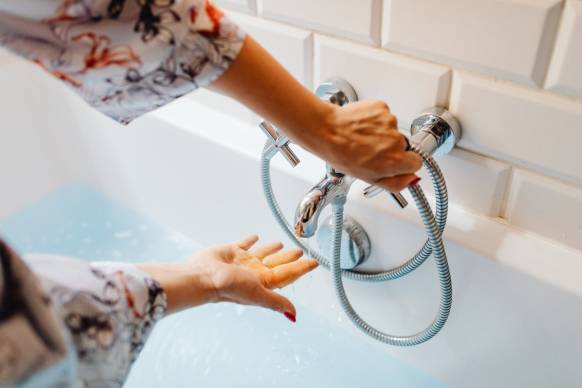
2. Turn off the water
You cannot stop the leakage without switching off the water supply. Consider placing an old towel or a piece of a large rag on the shower floor tiles.
If you accidentally drop a tool, the floor will be protected against damage. Ensure that you carefully cover the shower drain. This eliminated the tiny parts of the shower head getting lost.
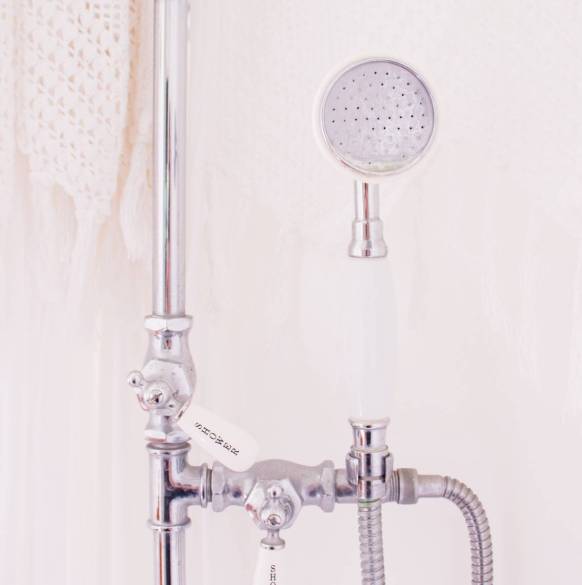
3. Remove the shower and Inspect
Use your hands to unscrew the shower head from the pipe. You may experience some hardship if the head hasn't been removed for some time. In that case, use your wrench or pliers to detach it. Inside the shower head, check if there are threads.
The tearing and wearing of the material usually lead to a leaking shower, and its ability to hold the water becomes rigid. Therefore, if the head appears damaged or worn, replace it immediately.
4. Clean up the shower head
To fix the water damage and shower head's decreased flow, thoroughly clean the tray out. Eliminate all the remains of the mineral deposits on the shower tray. Hard water usually blocks the pipe stem and the shower head. Thus, leading to a leaking shower or damaging the pressure and flow of water.
Alternatively, you can use this DIY to unblock the shower tray. You can use a pan or a tiny cooking pot. Mix vinegar and water, then boil them.
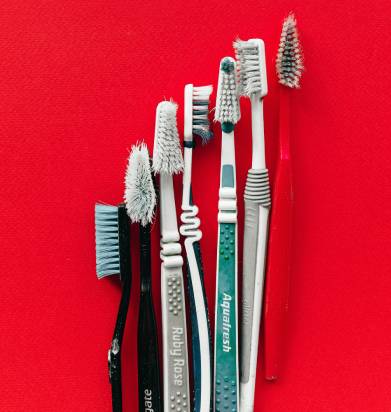
Afterwards, remove the liquid and put it in the shower head for at least 20 minutes. Use an old toothbrush to scrub in every nook and cranny. Rinse well till there are no remains of the deposits.
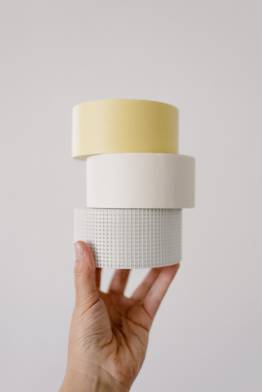
5. Use Tape
Your O-ring or washer needs to be taped. Use tape to cover the threads on the pipe stem. The stem uses a thin strip of threads at the pipe's head. However, avoid overdoing the whole process.
6. Fasten the Shower
Use your hand to attach the shower head to its previous state. Afterwards, use pliers to grip it hard. Do not use excessive force as you could break the pipe or the shower head.
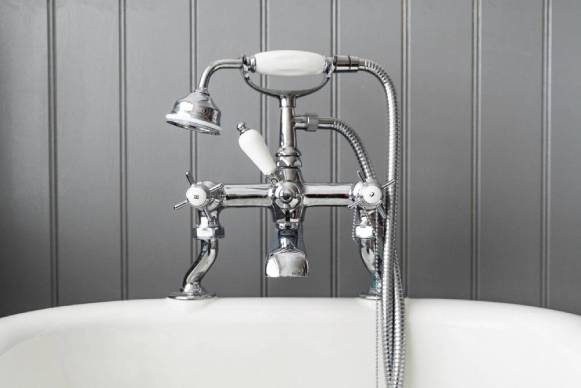
Replace the shower faucet
The shower stem washer may be worn out, causing a leak in the faucet. You can follow these tips to replace the shower faucet by yourself.
1. Turn off the water supply
Go to the main water supply and cut it off. Make sure you are working on a dry surface. Otherwise, you may get an injury by falling or slipping on the wet floor.
Unfasten the faucet and drain out all the water. Use a towel to dry out the water that still comes out from the pipe after disconnecting the faucet.
2. Remove the parts of the faucet
Depending on which faucet you have, the removal will vary. We have a two-knob and a one-knob faucet, and you must replace the two valves if you have a two-knob system faucet.
Detach them by using a crescent wrench and a screwdriver. Take out the guard and put it aside. You will spot two nuts.
You will only need to disconnect one of them to reach the shower stem, which is the large nut. Then take off the shower stem in a counterclockwise motion.
3. Replace washers
Once you disassemble the shower faucet, replace all the washers. Check to see the rubber washer at the stem's bottom (seat washer). At the heart of the stem, we have the packing washers. It does not matter their conditions as they may be affecting the shower stem causing the leak.
4.
Put the faucet back in order
Use a solution of water and vinegar in a container. Then take an old toothbrush and clean up the pipe. Scrub the pipes thoroughly to remove the mineral deposits.
Then attach back the faucet faceplate. Use caulk to seal where the faucet plate connects with the shower wall.
Get another shower faucet
If you attempt to fix a leaky shower head and the faucet bore no fruits, it's about time you buy a new one. This is a permanent solution to dry up your drip, and we recommend getting a licensed plumber. Regardless, using this general guideline, you can also replace the faucet.
1.
Get an ideal replacement
There are multiple sizes and styles of shower faucets. However, not all of them are replaceable, and thus, you must acquire a suitable replacement.
Observe the manufacturer's instructions to guarantee everything is done accurately. We recommend carrying the old faucet when getting a replacement.
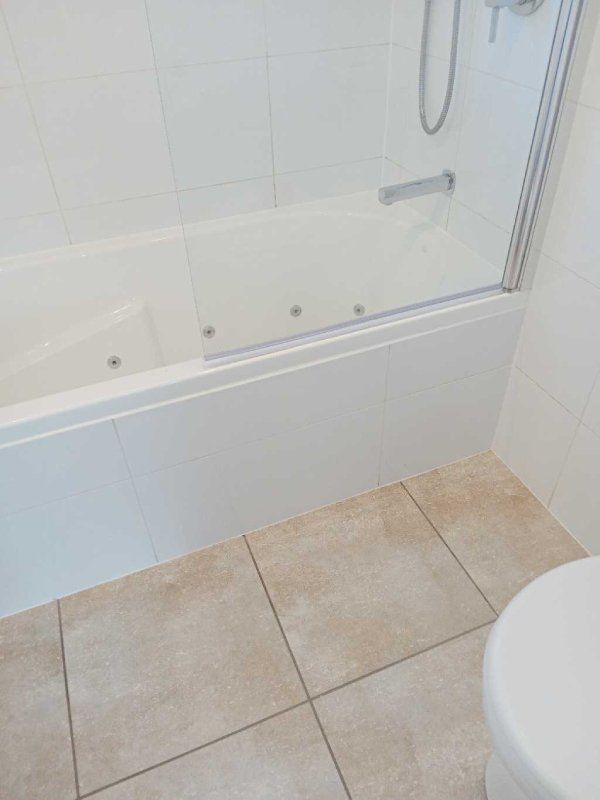
2. Take out the old faucet
The majority of the homes allow you to access the inside area of the tub. You can easily reach the panel on the opposite wall of the faucet. If your bathroom does not give access, you need to cut across from the wall to get and remove the old faucet and replace it with the new one. You can utilize a keyhole saw to cut a rectangular or square hole.
A pipe wrench can remove the base of the faucet. The tool detaches the faucet from the screws that tighten it to the shower attachment. Ensure that the faucet has entirely been extracted from the water pipes. To get rid of severe complications, avoid turning or twisting the pipes throughout the process.
3.
Fix new faucet
Align the new faucet perfectly with the shower pipe. Use a pipe wrench to grip the pipe. Adhere to the guidelines of the manufacturer to hook the new faucet accurately.
4.
Turn on the water
Turn the water on to check for any possible water leaking. If there is any drip, tighten the screws and nuts. You can also start the whole process again by following the manufacturing requirements.
5.
Repair the wall
The hole you drilled in the wall opposite the shower needs to be patched. This only applies if your house doesn't have an access panel.
Always remember to check the manufacturer's manual if you have any doubt. All the showers' plumbing repairs work in the same manner. However, the shower heads, faucets, and shower valve styles are different in how they are attached.
Check this related out:
Recent Blog Posts